We restructure the repository to better organize blender add-ons,
general scripts, application templates, etc.
Addresses #25
8.8 KiB
blender-media-viewer
The blender-media-viewer is a Blender Application Template that makes Blender usable as a Video-Player, Image and Text-Viewer and Review tool.
It came to life because we wanted to have a player that could seamlessly browse media files with the arrow keys for our weekly presentations at the studio no matter if they are video, images or image sequences. It became apparent that having review tools fit well in the scope of this project, so they got added.
One important aspect of the blender-media-viewer is to be able to use it without your mouse. Make sure to read the shortcuts section.
This Application Template reduces the Blender UI to a bare minimum to remove all elements that are not needed. It ships with its own add-on and keymap which add the functionality to make it usable as a media viewer.
Table of Contents
Installation
Note: The blender-media-viewer requires at least Blender 3.0!
Download or clone this repository. Blender expects Application Templates in these folders:
{BLENDER_USER_SCRIPTS}/startup/bl_app_templates_user
{BLENDER_SYSTEM_SCRIPTS}/startup/bl_app_templates_system
In the root project folder you will find the 'blender_media_viewer' folder.
Place the blender_media_viewer folder in one of these directories or create a sym link to it.
More information on Application Templates can be found here.
How to get started
After installing blender-media-viewer you can start it via the File->New menu.

You can also start Blender directly with an application template with a command line argument:
/path/to/blender --app-template blender_media_viewer
In this video you will get an overview of what the blender-media-viewer can do.

Viewing and Navigation
As mentioned above an important aspect while developing was to supply functionality and shortcuts to make the blender-media-viewer usable without a mouse.
With the ARROW keys, RETURN and BACKSPACE you can quickly navigate the file structure. Selecting a file will automatically place it in the media area and play it back looped. The media-viewer can display videos, single images, image sequences as well as text files. DOT and COMMA jump to the next or previous frame (wraps around frame range). If you hold down CTRL it jumps with a delta of 10 for faster scrubbing. SPACE toggles play and stop. Selecting multiple video files with SHIFT will place them all in one timeline after another.

You can easily change your screen layout. T toggles the Timeline, B toggles the Filebrowser, CTRL+B toggles the Filebrowser area and with F you can fullscreen the media area. Note that the media-viewer remembers the last selected folders or file and also saves the last path when you close the application.

You can navigate the media view with your NUMPAD. 4,6,2,8 move the camera of the media view, + and - lets you zoom in and out. With NUMPAD DOT or SHIFT + SPACE you can fit the media to view.

If you toggle the sidebar of the Filebrowser with CTRL+T you can browse the bookmark lists with your ARROW keys while holding down CTRL. You can also change the Filebrowser display type with 1,2, 3. M toggles mute audio.

Review
Annotation tools
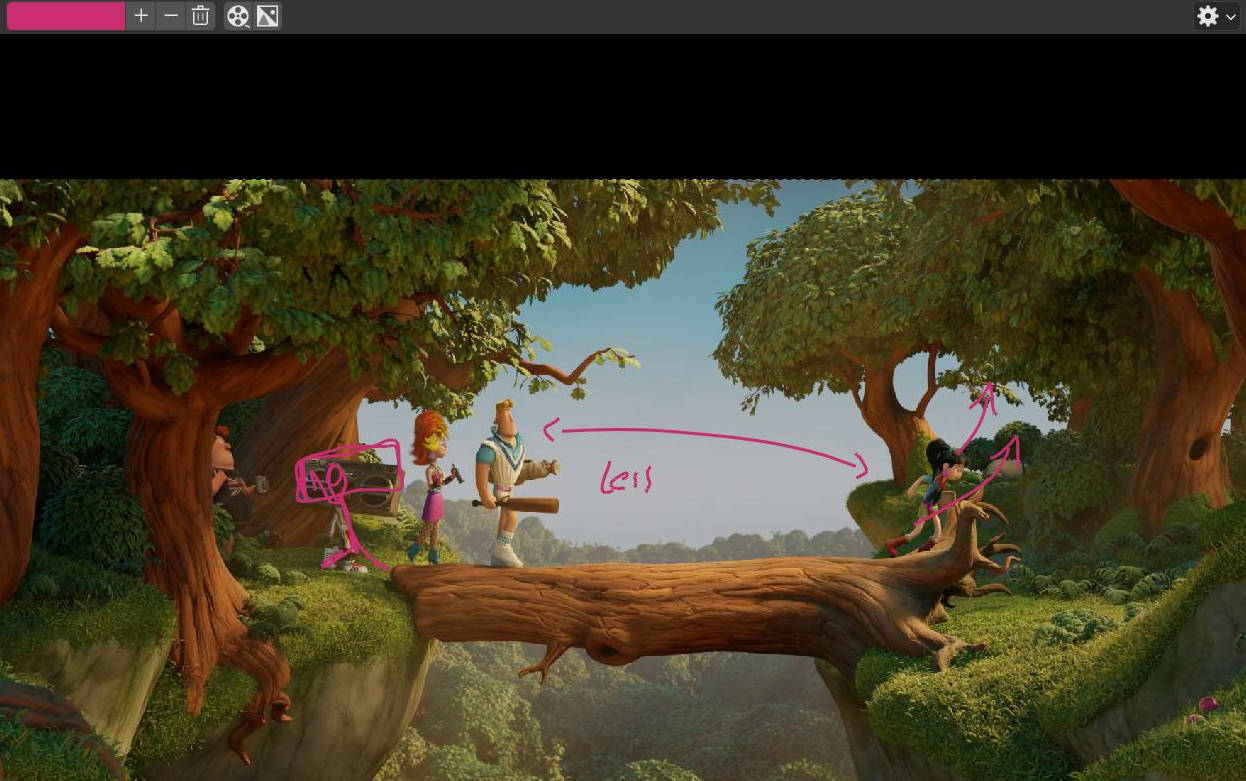
The blender-media-viewer comes with a set of review tools. You will find them in the top bar of the media view.

The annotation tool is by default the active one so you can just start to draw on top of the media. The shortcuts for the annotation tool are the same as in default Blender.
Each media file will have it's own annotation layer and it will be loaded once you select the media file. That means the blender-media-viewer will always create a new annotation layer for a media file that was not annotated before.
You can adjust the layer color on the top left.
Next to the color you will see some buttons:
-
The + button creates a new empty frame. This is useful when you want to make an annotation last until a specific frame. And after that frame it should be empty. The default behavior is that the annotation will be visible from its creation frame to the next annotation frame.
-
The - button deletes the active annotation frame.
-
The TRASHCAN button deletes all annotation frames for the active layer (current media file).
Rendering the Review
No matter if you are viewing images or video files you can export them including your annotations. This can be easily done with the Render buttons next to the annotation operators.
There are 2 different export operators:
-
Render Review as Sequence: (Movie icon) Exports media file as .mp4 or .jpg sequence, depending on settings (shortcut: CTRL + F12).
-
Render Review as Single Image: (Single image icon): Exports current frame as .jpg (shortcut: F12)
In the setting popover on the top right you can specify a couple of options to customize the export.
- Review Output Directory: A folder path in which the annotated media will be exported.
- Sequence File Type: Controls if the render review as sequence operator should create a movie file (.mp4) or an image sequence (.jpg) in a subfolder.
The filenames will include a timestamp so you won't overwrite any previous reviews of the same media. You can export single images, image sequences and .mp4s. Single images and .mp4s will just be exported in the review output directory directly. For image sequence a subfolder will be created that also has the timestamp included.
Note
: Because the image editor has not a built in operator to render out an image including the annotations, the media-viewer uses a custom python openGL rendering pipeline for images and image sequences. This approach is not very fast but enables us to even annotate multilayer EXRs and write out any layer we want.
Shortcuts
File Navigation:
| Key | Function |
|---|---|
| ARROWS | Select item Filebrowser |
| CTRL + ARROWS | Select item Filebrowser Sidebar |
| RETURN | Jump in selected Folder |
| BACKSPACE | Jump one Folder up |
Time Navigation:
| Key | Function |
|---|---|
| SPACE | Toggle Play |
| DOT | Next frame |
| COMMA | Previous frame |
| CTRL + DOT | Jump + 10 frames |
| CTRL + COMMA | Jump -10 frames |
Areas:
| Key | Function |
|---|---|
| B | Toggle Filebrowser |
| CTRL + B | Toggle Filebrowser Sidebar |
| T | Toggle Timeline |
| F | Fullscreen Media Area |
Screen Navigation:
| Key | Function |
|---|---|
| SPACE + SHIFT | Fit media to view |
| NUMPAD DOT | Fit media to view |
| NUMPAD 4 | Move media view camera LEFT |
| NUMPAD 6 | Move media view camera RIGHT |
| NUMPAD 8 | Move media view camera UP |
| NUMPAD 2 | Move media view camera DOWN |
| NUMPAD + | Zoom media view camera IN |
| NUMPAD - | Move media view camera OUT |
Annotation Tool:
| Key (while draw) | Function |
|---|---|
| CTRL | Erase |
| SHIFT | Lazy Mouse |
| ALT | Line Mode |
| SHIFT + ALT + D | Draw Polygon Tool |
Review:
| Key | Function |
|---|---|
| F12 | Render Review Image |
| CTRL + F12 | Render Review Sequence |
Other:
| Key | Function |
|---|---|
| M | Toggle Mute Audio |
| 1,2,3 | Filebrowser Display Type |
| CTRL + Q | Quits the Application |
Development
In the project root you will find a pyproject.toml and peotry.lock file.
With poetry you can easily generate a virtual env for the project which should get you setup quickly.
Basic Usage: https://python-poetry.org/docs/basic-usage/